Step 1: Install the SSL Certificate
After you have purchased and received your SSL certificate, login to the control panel and click on the SSL Certificates link under the Advanced Features heading. This will take you to the SSL certificates page where you can install the certificate.
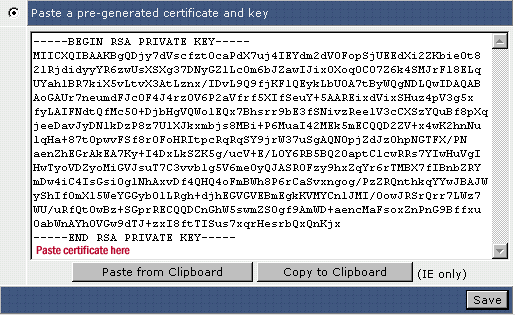
- Click the radio button next to the Paste a pre-generated certificate and key option.
- The field should automatically display the RSA Private Key for your domain (DO NOT to delete the Key). Copy and paste the SSL certificate that you purchased immediately below the RSA Key and click Save. At this point your new SSL Certificate is installed and will be ready to use. You may have to refresh your web browsers' cache to have it recognize the new certificate.
*If required: Depending on the type of SSL Certificate you have purchased, you may also need to follow the next step and enter a CA Root Certificate if provided by your SSL vendor.
Step 2: Install the CA Root Certificate (*Only if required)
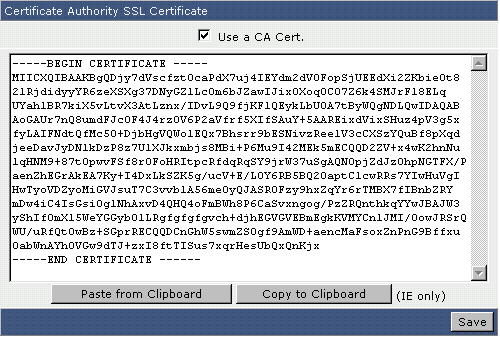
Return to the main SSL menu. At the very bottom is a link Click Here to paste a CA Root Certificate. After clicking on the link you can copy and paste the CA Root Certificate you were provided in the textbox. Check the option to Use a CA Cert, then click the Save button.

*Important: Remember To Check the "Use a CA Cert." checkbox
The installation of a CA Root Certificate is not always required and will depend on your SSL certificate provider.
Uploading Files to your Secure Site
In the past files needed to be uploaded to your "/domains/yourdomain.com/private_html" directory in order to be served over an HTTPS connection. However, it is now common to configure a symbolic link that directs requests for the private_html directory to the public_html directory. This allows users to maintain all website content in one location and elimates the need for duplicating files. You may upload your files using the control panel's built-in file manager or through an FTP client of your choice.
If you have configured your domain in this fashion, simply upload your files to the corresponding "/domains/yourdomain.com/public_html" directory.
Please Note: In order to disable the "private_html" directory for the domain you are hosting, refer to the following article:
How do I disable the private_html directory in order to only use the public_html directory?

